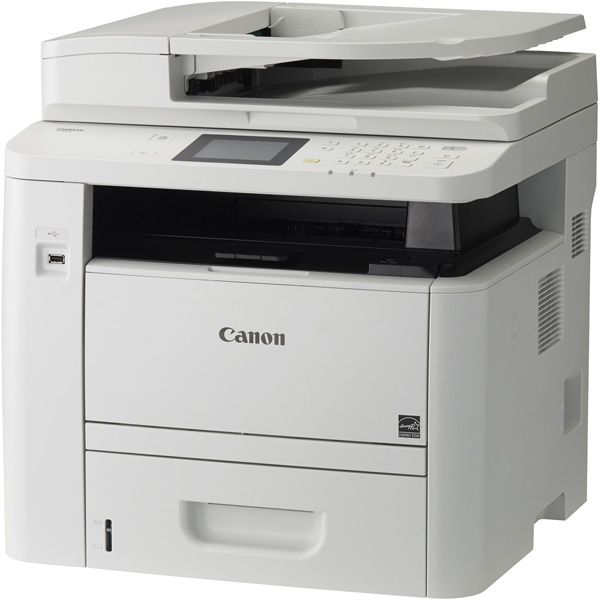
The Ultimate Guide to Connecting Your Printer to Wi-Fi
December 15, 2023Are you tired of dealing with messy cables and wires when printing documents? Connecting your printer to Wi-Fi can be a game-changer, allowing you to print from anywhere in your home or office without the hassle of cords. In this article, we’ll guide you through the process of connecting your printer to Wi-Fi, step by step.
Step 1: Check Your Printer’s Compatibility
Before you begin, make sure your printer is compatible with Wi-Fi connectivity. Most modern printers have this feature, but if you’re unsure, check the manufacturer’s website or user manual.
Step 2: Connect Your Printer to Wi-Fi
To connect your printer to Wi-Fi, follow these steps:
- Turn on your printer and navigate to the settings menu.
- Look for the Wi-Fi or network settings option and select it.
- Choose the option to connect to a wireless network.
- Select your Wi-Fi network from the list of available networks.
- Enter your Wi-Fi password when prompted.
- Wait for your printer to connect to the network.
Step 3: Test Your Connection
Once your printer is connected to Wi-Fi, it’s time to test the connection. Print a test page or document to ensure that your printer is working properly.
Step 4: Troubleshooting
If you encounter any issues during the connection process, try the following troubleshooting steps:
- Make sure your printer is within range of your Wi-Fi network.
- Check that your Wi-Fi network is working properly.
- Restart your printer and try again.
- Contact the manufacturer’s customer support for further assistance.
In conclusion, connecting your printer to Wi-Fi is a simple process that can save you time and hassle in the long run. By following these steps, you’ll be able to print from anywhere in your home or office without the need for messy cables and wires. Happy printing!